
 Pin it
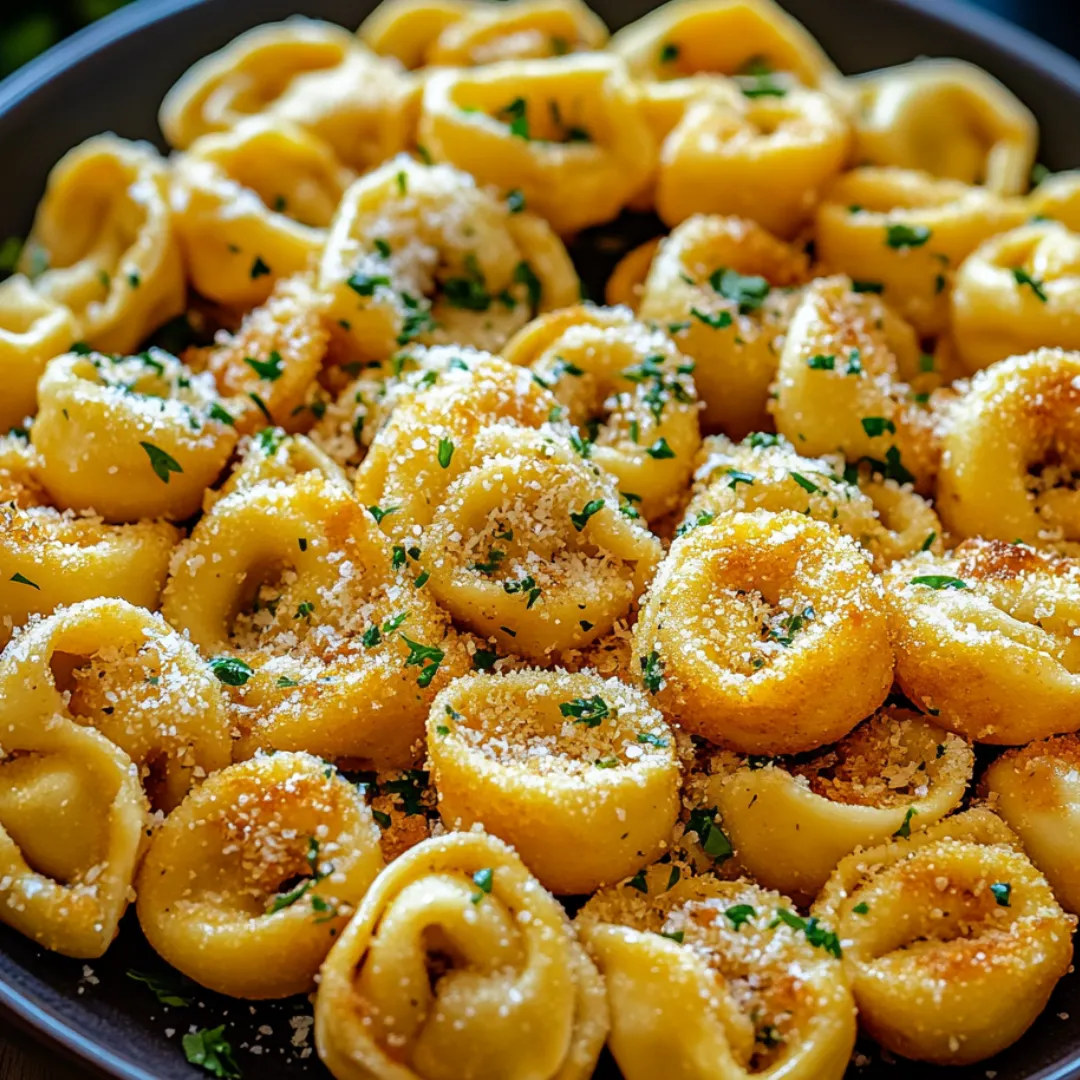
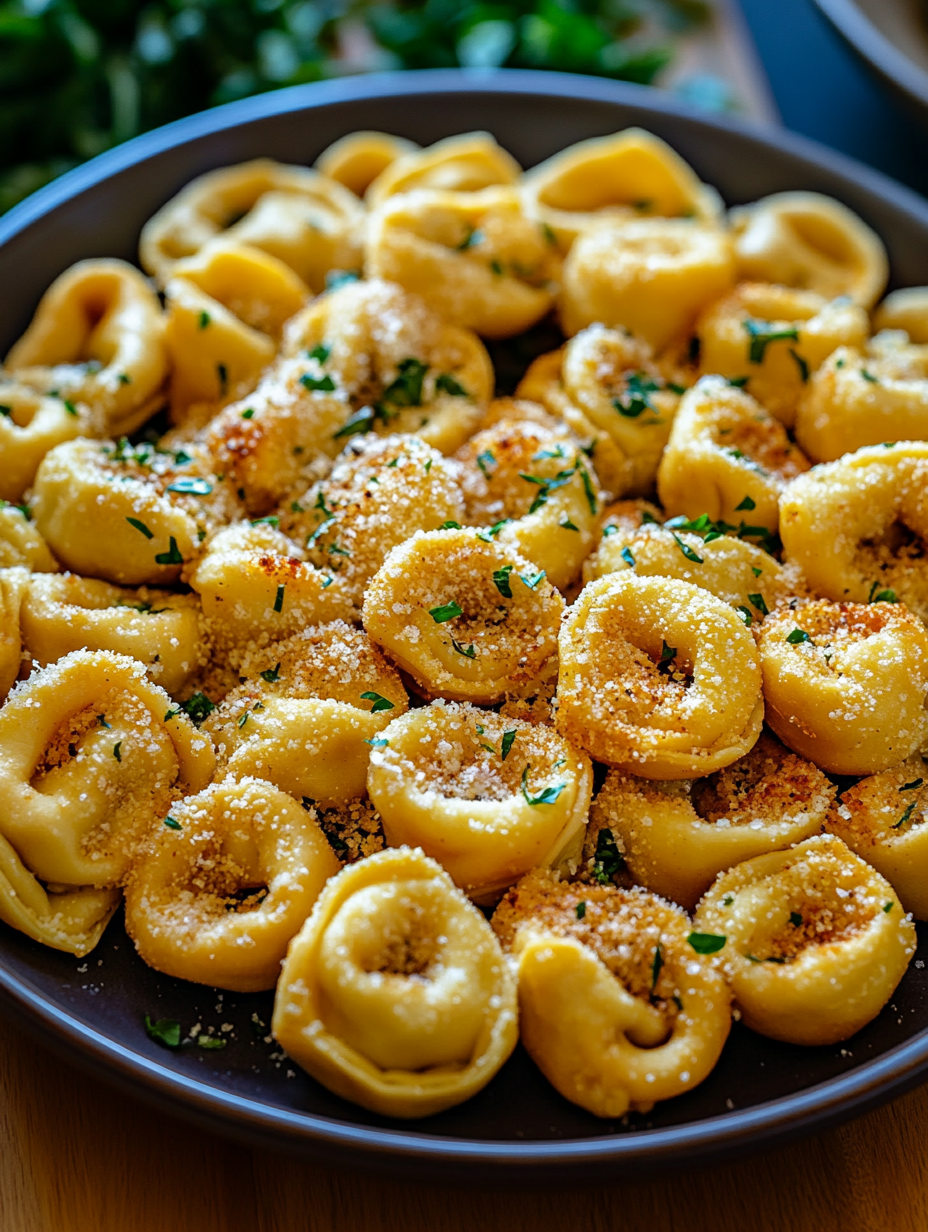
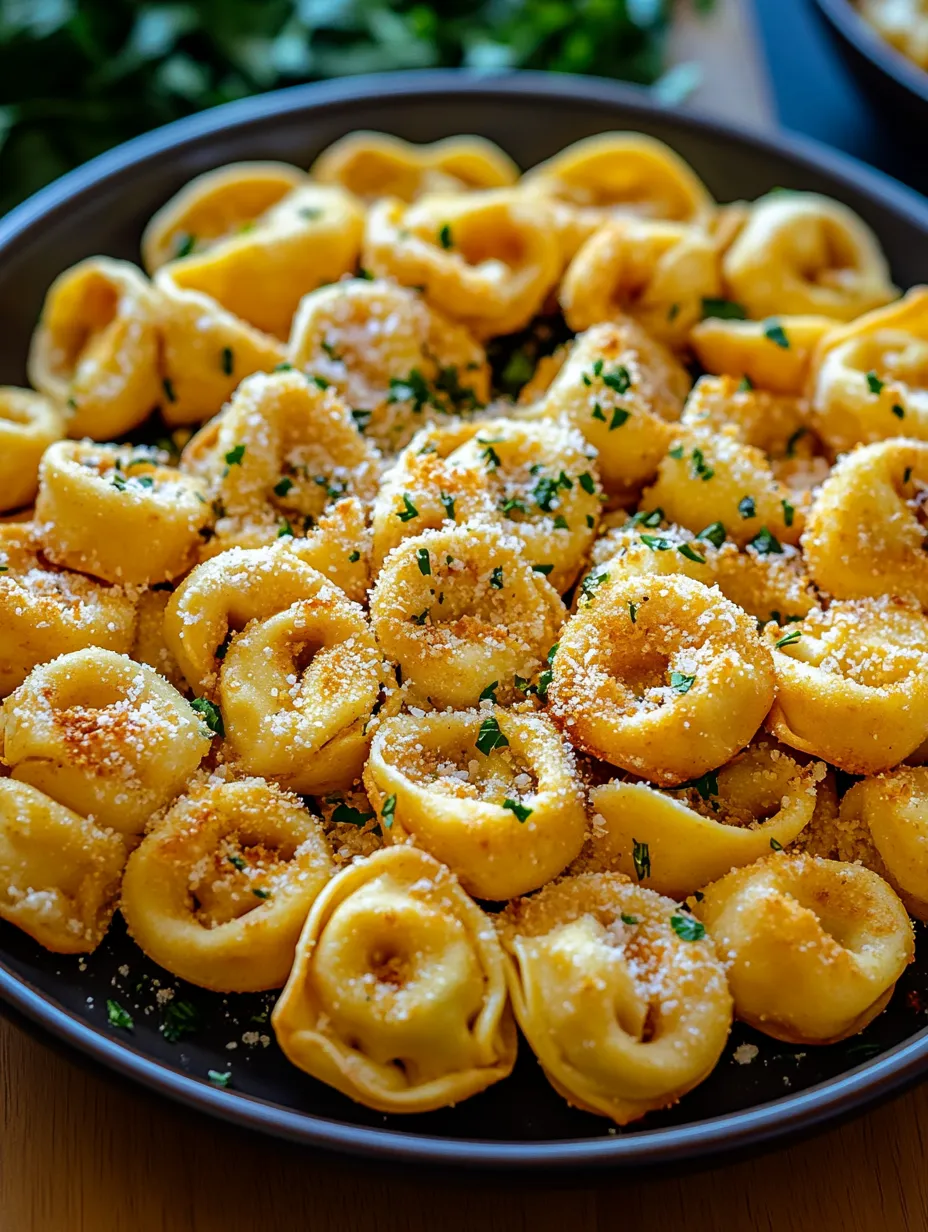
These addictive Crispy Tortellini Party Snacks transform ordinary refrigerated pasta into an extraordinary appetizer that vanishes within minutes at any gathering. Each bite delivers the perfect contrast between a golden, crunchy exterior and a warm, cheesy center that simply melts in your mouth. The humble tortellini gets elevated into finger food territory with a seasoned coating that crisps up beautifully whether baked or fried. Paired with your favorite dipping sauce, these little flavor bombs turn any occasion into something special with minimal effort and maximum impact.
I first made these on a desperate whim when unexpected guests announced they were stopping by in an hour. With limited ingredients on hand, I spotted a package of refrigerated tortellini and thought, 'What if I bread these?' The improvised snack was such a hit that my friend's husband - who typically avoids carbs - ate nearly half the batch and asked for the recipe. Since then, they've become my signature party contribution, and I'm always asked to bring 'those tortellini things' to gatherings.
Ingredients You'll Need
- 1 package (9 ounces) refrigerated cheese tortellini: Fresh refrigerated tortellini works best as they cook quickly and maintain their shape; cheese-filled varieties provide that irresistible gooey center
- ½ cup all-purpose flour: Creates the essential first layer that helps the egg wash adhere properly to the pasta surface
- 2 large eggs: Forms the binding layer that ensures your breadcrumb coating sticks perfectly; room temperature eggs blend more smoothly
- 1 cup Italian-style breadcrumbs: Provides the seasoned base for your crispy coating; these already contain herbs and seasonings for convenience
- ½ cup freshly grated Parmesan cheese: Adds a nutty, salty dimension to the coating that elevates the flavor significantly; freshly grated melts better than pre-packaged
- 1 teaspoon garlic powder: Infuses the coating with savory depth that complements the cheese filling beautifully
- 1 teaspoon Italian seasoning: Contributes aromatic herbs that make these taste like they came from an Italian kitchen
- ½ teaspoon salt: Enhances all the other flavors; kosher salt works particularly well for its clean taste
- ½ teaspoon black pepper: Adds subtle warmth and depth that balances the richness of the cheese
- ¼ teaspoon red pepper flakes (optional): Provides a gentle heat that cuts through the richness without overwhelming the palate
- Cooking spray or vegetable oil: Essential for achieving that gorgeous golden-brown finish, whether baking or frying
- Marinara or ranch for dipping: The perfect complement to the crispy cheesy bites; warm marinara particularly enhances the Italian flavor profile
 Pin it
Step-by-Step Cooking Instructions
- Cook the Tortellini:
- Begin by bringing a large pot of salted water to a rolling boil. Add your tortellini and cook for exactly 2 minutes less than the package instructions recommend. You want them slightly underdone as they'll continue cooking during the baking or frying process. Drain them thoroughly in a colander, then spread them on paper towels and gently pat dry. This drying step is crucial - excess moisture will prevent the coating from adhering properly and can cause splattering if you're frying. Allow them to cool for about 5 minutes until they're comfortable to handle.
- Prepare Your Breading Station:
- While the tortellini cool, set up your breading assembly line with three shallow dishes. In the first dish, add your all-purpose flour. In the second, whisk the eggs until completely blended and no streaks of white remain. In the third dish, combine the Italian breadcrumbs, freshly grated Parmesan cheese, garlic powder, Italian seasoning, salt, black pepper, and red pepper flakes if using. Mix these dry ingredients thoroughly with a fork to ensure even distribution of seasonings. This organized setup makes the coating process much more efficient and less messy.
- Coat the Tortellini:
- Working with about 5-6 tortellini at a time (keeping the rest covered so they don't dry out), first dredge them in the flour, shaking off any excess. This first coating creates a dry surface for the egg to cling to. Next, dip them in the beaten egg, allowing any excess to drip back into the bowl. Finally, place them in the seasoned breadcrumb mixture, gently pressing the crumbs onto all surfaces to ensure even coverage. Place the coated tortellini on a parchment-lined baking sheet, making sure they don't touch each other. Continue this process until all tortellini are coated.
- Choose Your Cooking Method:
- For baking (the healthier option), preheat your oven to 400°F and lightly spray a baking sheet with cooking spray. Arrange the breaded tortellini in a single layer, leaving some space between each piece. Spray the tops lightly with cooking spray to help them brown. Bake for 8 minutes, then carefully flip each piece with tongs or a spatula, and bake for another 7-10 minutes until golden brown and crispy. For frying (the extra-crispy option), heat about 2 inches of vegetable oil in a heavy-bottomed pot or deep skillet to 350°F. Carefully lower 8-10 coated tortellini into the hot oil and fry for 2-3 minutes until they reach a deep golden brown. Remove with a slotted spoon and drain on paper towels. Repeat with remaining tortellini.
- Season While Hot:
- For an extra flavor boost, sprinkle the hot tortellini lightly with a little more grated Parmesan and a pinch of salt immediately after cooking, while the residual heat can help melt and adhere these final seasonings. The hot surface will absorb these last touches of flavor beautifully, creating an irresistibly umami-rich exterior. This chef's trick makes a noticeable difference in the final taste.
- Serve Promptly:
- Transfer your crispy tortellini to a serving platter while still warm. Arrange small bowls of warmed marinara sauce, ranch dressing, or garlic aioli alongside for dipping. For an impressive presentation, insert decorative toothpicks into some of the tortellini to make them easier for guests to grab, or create little paper cones filled with a few tortellini for individual servings. These are best enjoyed immediately while the contrast between the crunchy exterior and tender interior is at its peak.
My neighbor taught me the double-coating technique after watching a cooking show, and it truly transforms these from good to magnificent. The extra layer makes them substantial enough to hold up to hearty dips without losing their crunch. I've found that using a candy thermometer when frying helps maintain the perfect temperature - before I started monitoring this, my results were inconsistent, sometimes ending up with unevenly cooked batches that frustrated me. Now they turn out perfectly golden every time.
Serving Beyond the Basics
While these crispy bites are delicious with traditional dips like marinara or ranch, experimenting with different sauces takes them to new heights. Try a spicy sriracha mayo, a tangy balsamic glaze, or a creamy pesto dip for variety. For an elevated presentation at dinner parties, I like to serve them skewered on small rosemary sprigs which infuse a subtle aromatic element as guests pick them up. Another favorite serving method is creating a tortellini 'bar' with several different dipping options so guests can customize their experience.
Perfect Pairings
These crispy tortellini snacks pair beautifully with a variety of beverages and complementary foods. For drinks, try a bright, acidic Pinot Grigio or Sauvignon Blanc to cut through the richness, or a crisp lager beer. For non-alcoholic options, sparkling water with lemon or a tart lemonade provides similar contrast. They work wonderfully alongside other Italian-inspired appetizers like marinated olives, roasted red peppers, or a simple caprese salad for a complete antipasto spread. I've found that adding something fresh and acidic to the spread creates a perfect balance to these rich, crispy bites.
Troubleshooting Tips
If you encounter challenges with your tortellini snacks, a few simple adjustments can help. If your coating falls off during cooking, the tortellini were likely too wet initially - be sure to pat them completely dry after boiling. If they're browning too quickly when frying, your oil is too hot - reduce the heat and continue with a slightly lower temperature. For baked tortellini that aren't crisping properly, try placing them on a wire rack over your baking sheet to allow air circulation all around, and consider extending the baking time by 3-5 minutes. Don't worry if your first batch isn't perfect - each time you make these, you'll fine-tune the technique.
 Pin it
Customization Ideas
The basic recipe is just the beginning - customizing these snacks makes them even more special. For Mexican-inspired tortellini, substitute taco seasoning for the Italian herbs and serve with salsa and guacamole. For a Mediterranean twist, add lemon zest and oregano to the breadcrumb mixture and serve with tzatziki. Love spice? Mix cayenne pepper into your breadcrumbs and pair with a cooling ranch dip. One of my most popular variations is adding finely grated lemon zest and cracked black pepper to the coating, then serving with a lemon-garlic aioli - the brightness of the citrus beautifully complements the cheesy tortellini.
The first time I brought these to my sister's holiday gathering, her father-in-law (a retired chef) asked for my secret. I was both embarrassed and proud to admit how simple they were to make. He later told me that the best party foods are always the ones that seem special but don't keep the host trapped in the kitchen. These crispy tortellini bites perfectly fit that description - they deliver the wow factor with minimal effort. I now keep a couple packages of tortellini in my freezer at all times, ready to transform into this crowd-pleasing appetizer whenever unexpected guests arrive or a last-minute invitation requires a shareable dish.
Frequently Asked Questions
- → Can I make these ahead of time?
- You can bread the tortellini up to a day ahead and store them covered in the refrigerator. Cook just before serving for the best texture and crispiness.
- → Will frozen tortellini work for this recipe?
- Yes, but thaw and cook them according to package directions first, then pat them very dry before breading to ensure the coating sticks properly.
- → Can I use an air fryer for these snacks?
- Absolutely! Air fry at 375°F for about 8-10 minutes, shaking the basket halfway through, until golden brown and crispy.
- → What other dipping sauces work well?
- Besides marinara and ranch, try pesto, garlic aioli, spicy mayo, or a creamy alfredo sauce for delicious alternatives.
- → How do I keep them warm for a party?
- Keep them in a 200°F oven on a wire rack over a baking sheet. This maintains crispiness better than covering them, which can create steam and soften the coating.